Notifications
The "Settings" => "Notifications" section collects functionality to manage the methods of delivery of a variety of notifications.
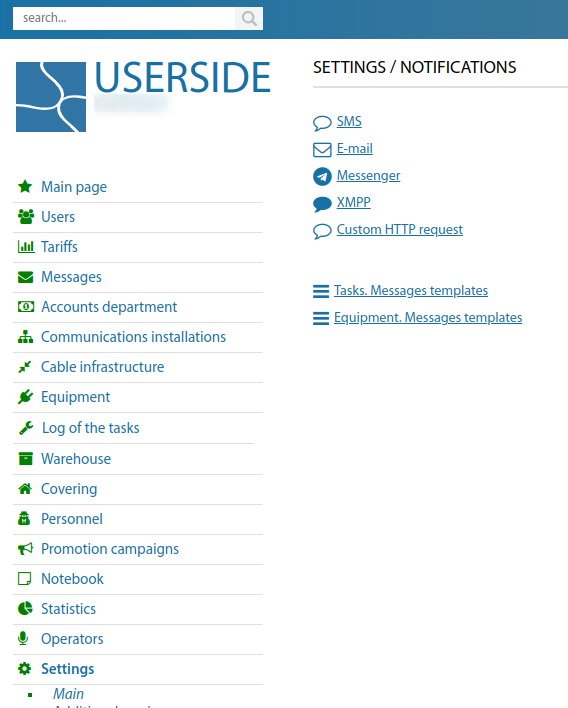
Configure the required settings.
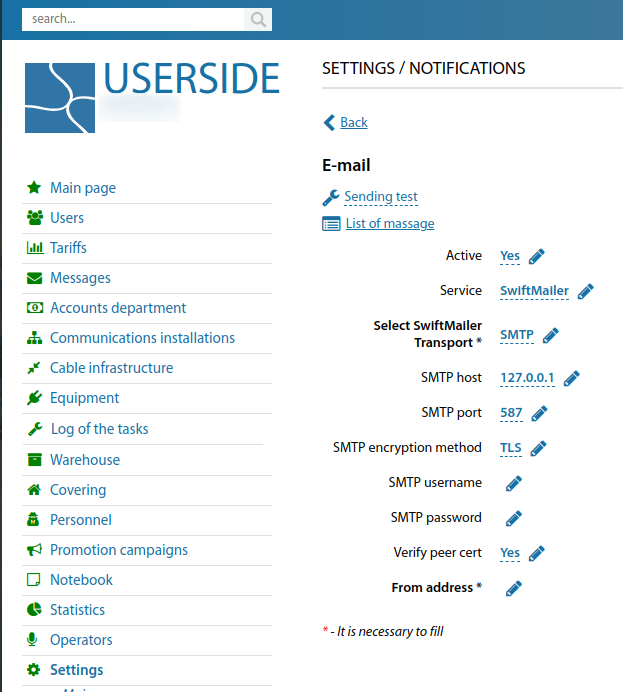
You can choose between two transport modes:
SMTP
When selecting this transport type, you must specify the SMTP server address and port. If the server uses encryption, specify its type and set the corresponding port. If the server requires authentication - specify a username and password.
If you are using a public SMTP server of public mail services (Google, Yandex, etc.), all necessary settings can be found in the Help section of your service.
sendmail
When selecting this transport type, you must specify the path to sendmail and the parameter to start sending mail -bs or -t
The configuration string should look like this /usr/sbin/sendmail -bs or /usr/sbin/sendmail -t
SMS
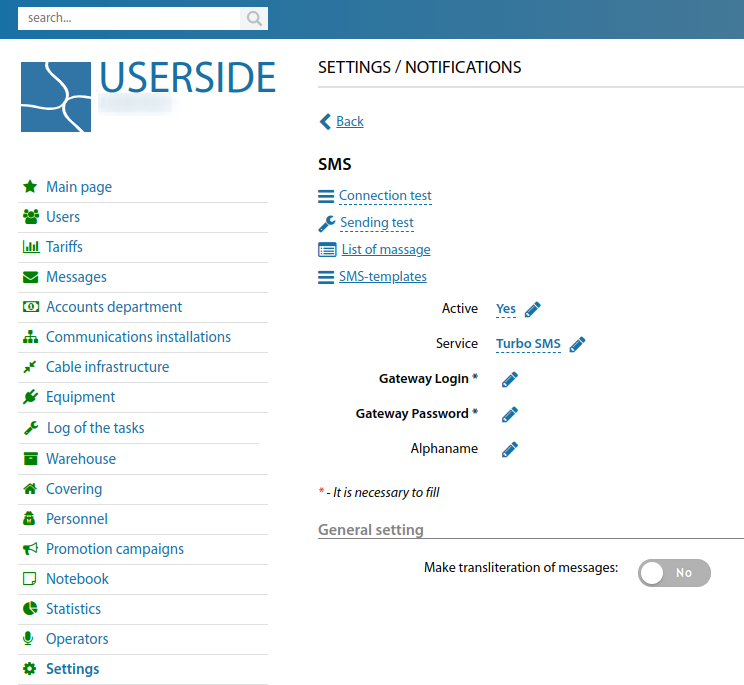
Telegram
(Starting from version 3.15)
In the menu: Settings => Notifications => Messenger you need to make the following settings.
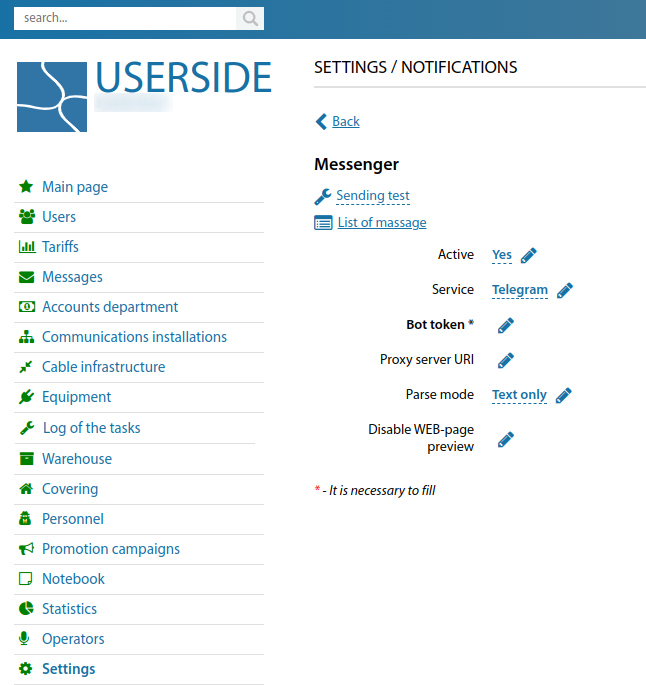
1. Service - Telegram
2. Bot token - specify the API token of your bot, through which the sending will be done. To create a Telegram bot and/or get its API token, you need to write to the bot @BotFather https://t.me/BotFather and choose to create a new bot in the menu, if you don't have one yet, then request its API token through the menu. The API-token looks like this: 123456:ABC-DEF1234ghIkl-zyx57W2v1u123ew11
3. Proxy server URI - optional - specify the URI of the proxy, if using, along with the protocol and port number. For example,socks://telegram.proxy or tcp://telegram.proxy:8125 etc.
4. Parse Mode - optional - specify the mode of message text processing. You can choose between plain text and Markdown or HTML modes. More details in the documentation: https://core.telegram.org/bots/api#formatting-options
Telegram bot will be able to send messages to telegram users only after the telegram user launches the bot. To do this, you need to open a chat with the bot, then click "Start" at the bottom of the chat, then write anything to the bot, for example, /start. Next, you need to find out the chat-id of the Telegram user to whom the bot should send messages and enter it into the Userside user data.
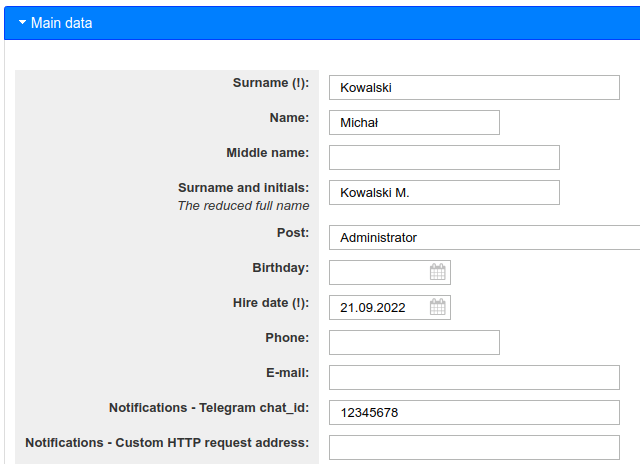
For each operator of the system you can specify its chat-id - this is a unique identifier of the user within the Telegram network. The fastest way to find out your chat-id is to text /get id to bot @JohnRoebot https://t.me/JohnRoebot . Enter the received numeric identifier into the Telegram chat_id field.
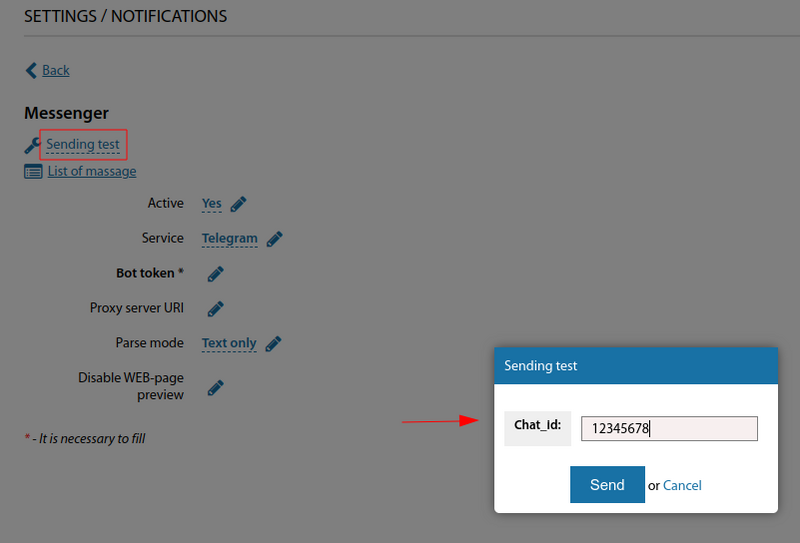
To perform the test of sending notifications, you need to specify its Chat ID in the "Recipient" field. Then click "Send".
Custom HTTP request
Custom URL
(Starting from version 3.15)
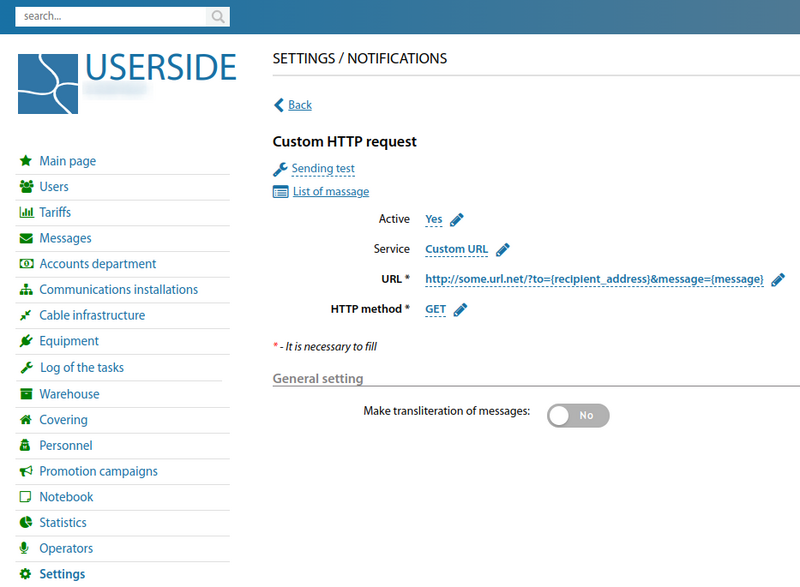
The URL and the HTTP method that will be used to call this URL should be specified. As you can see from the screenshot, the URL contains wildcard fields:
{recipient_address}— this value will be replaced by the recipient's address{message}— this value will be replaced by the message text
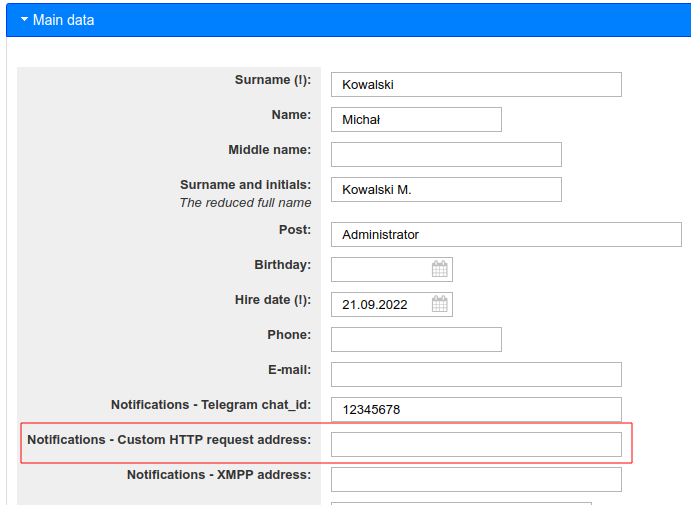
For each system operator, you can specify its destination address for Custom HTTP request.
Starting from version 3.18:
Removed functionality with JABBER. Use "Custom HTTP request" or Messenger (Telegram) notification service
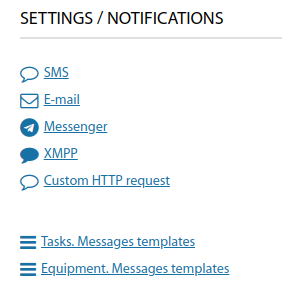
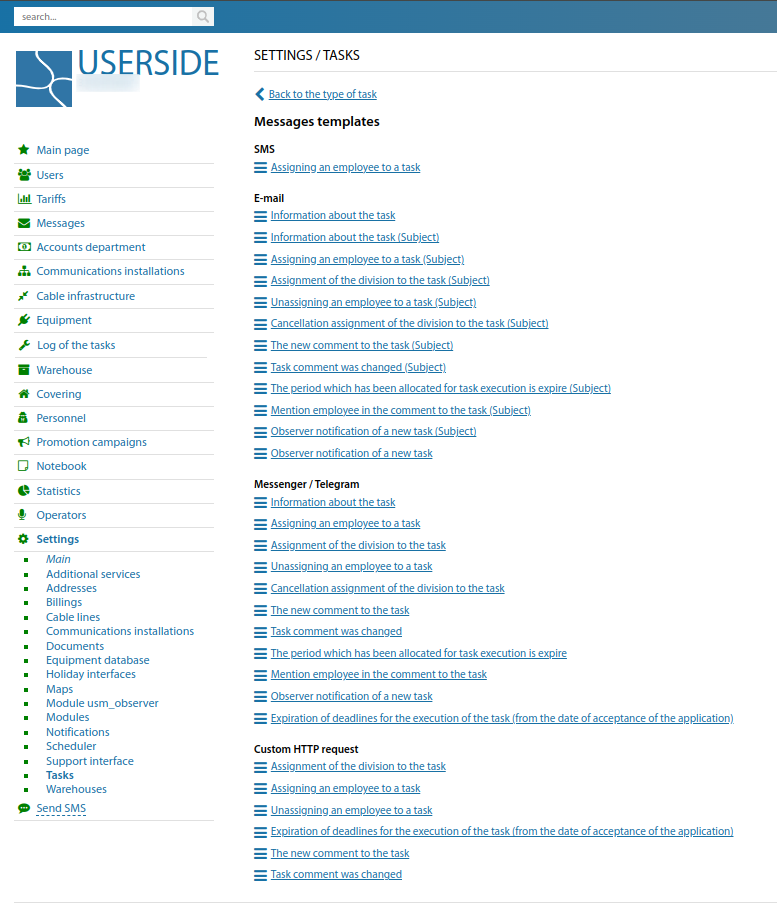
Tasks. Messages templates
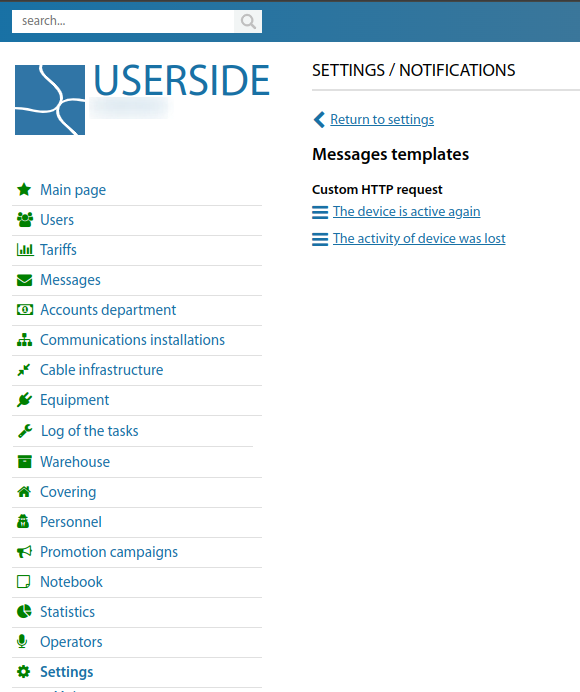
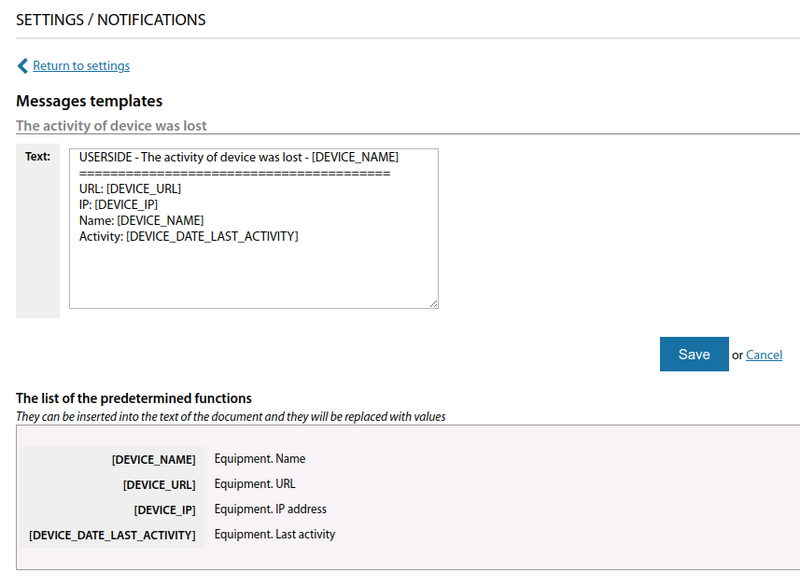
Equipment. Messages templates
Added the ability to configure templates of messages about the loss/appearance of activity in the equipment to the notification settings.
